インディアンジュエリー・ナバホ・ターコイズバングル・カスタム製作【後編】
2017.06.16
さあインディアンジュエリー・ナバホ・ターコイズバングル・カスタム製作【前編】の続きです。
ヨイショ、ヨイショとローラーがけしていきます。
だんだん、ダンダン、長くなります~
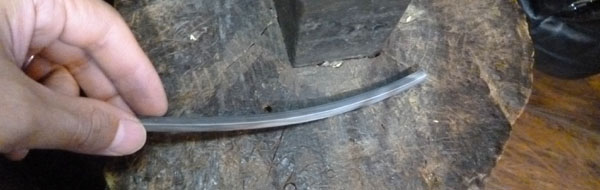
かなり長くなってきました。
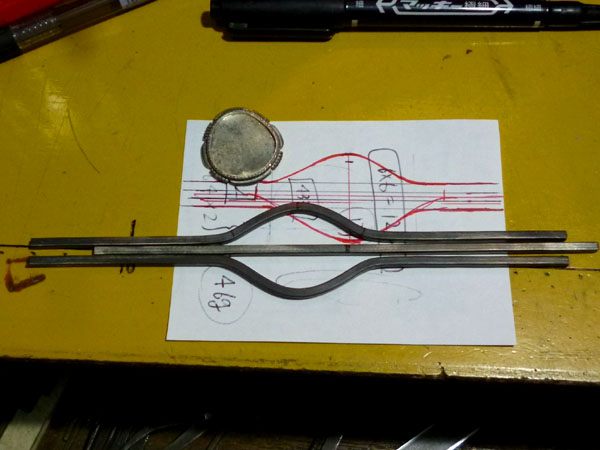
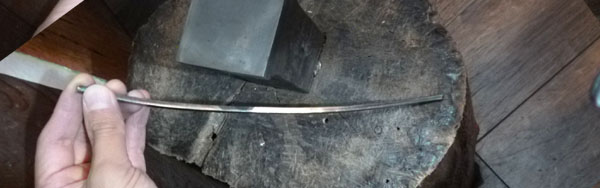
3等分します。整形も。
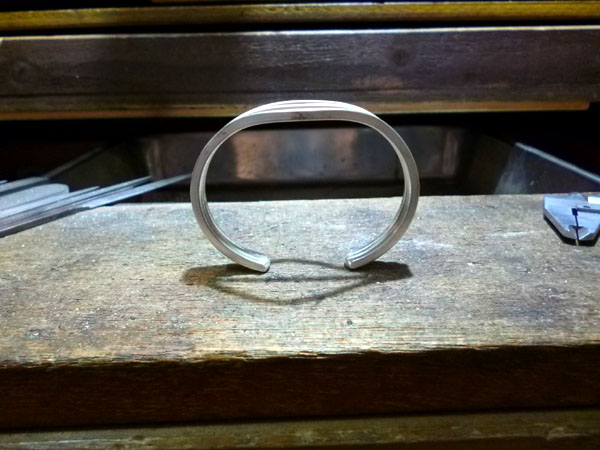
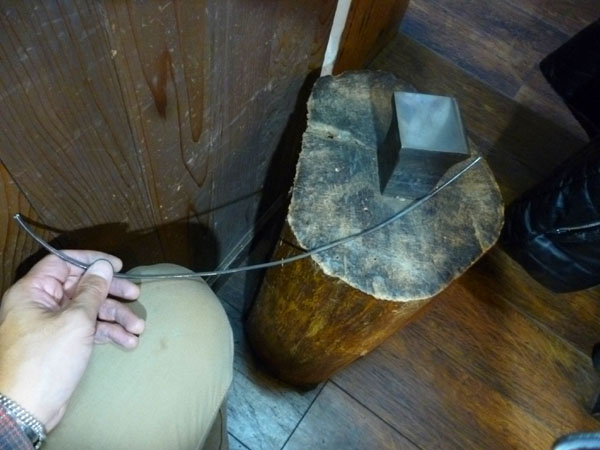
バングル状に曲げていきます。3mm厚なんで結構硬いですね。ここでも腕力が必要です。
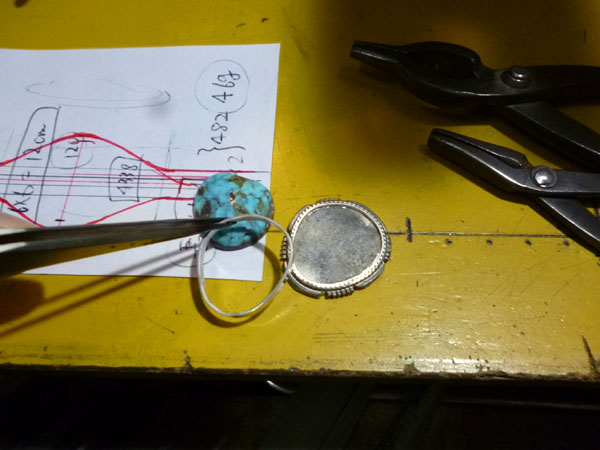
ターコイズの石座。既存のフクリンは使えなかったので新しく作り、台座の上に乗せて溶接です。
スリットも一本一本糸鋸で入れていく。ここはどちらかと言うと集中力でしょうか。
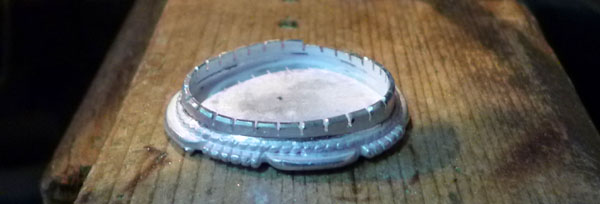
バングルと石座を溶接。
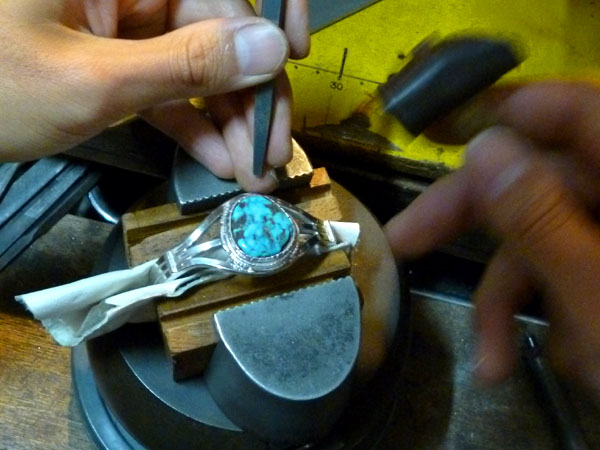
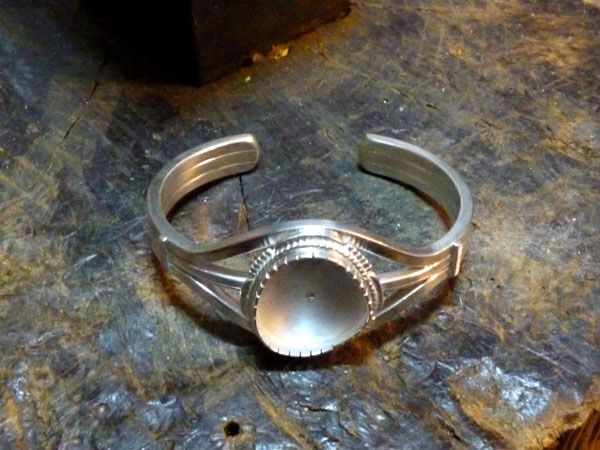
ターコイズの石留め。割れないように気を付けながらセッティングします。
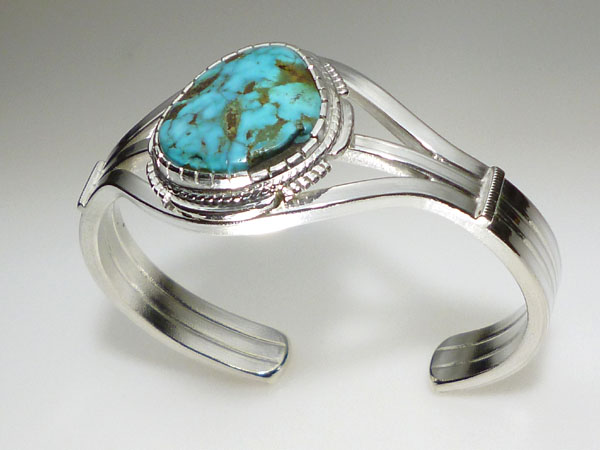
完成です。
https://www.italu-ya.com/wrc_064.html
making by ITALU-YA
ヨイショ、ヨイショとローラーがけしていきます。
だんだん、ダンダン、長くなります~
かなり長くなってきました。
3等分します。整形も。
バングル状に曲げていきます。3mm厚なんで結構硬いですね。ここでも腕力が必要です。
ターコイズの石座。既存のフクリンは使えなかったので新しく作り、台座の上に乗せて溶接です。
スリットも一本一本糸鋸で入れていく。ここはどちらかと言うと集中力でしょうか。
バングルと石座を溶接。
ターコイズの石留め。割れないように気を付けながらセッティングします。
完成です。
https://www.italu-ya.com/wrc_064.html
making by ITALU-YA
 2017.06.16 13:03
|
2017.06.16 13:03
| 

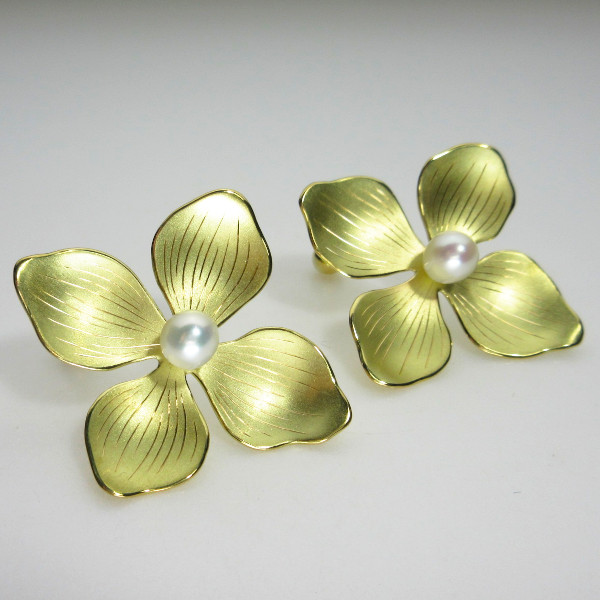 K18YG・淡水パールのフラワーピアス
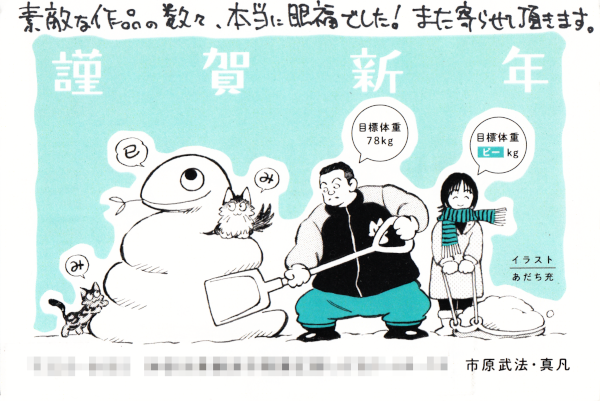 年末年始のお知らせ
 CREDOR Watch band bracelet
 Caucasoid Anatomical Silver Skull Ring
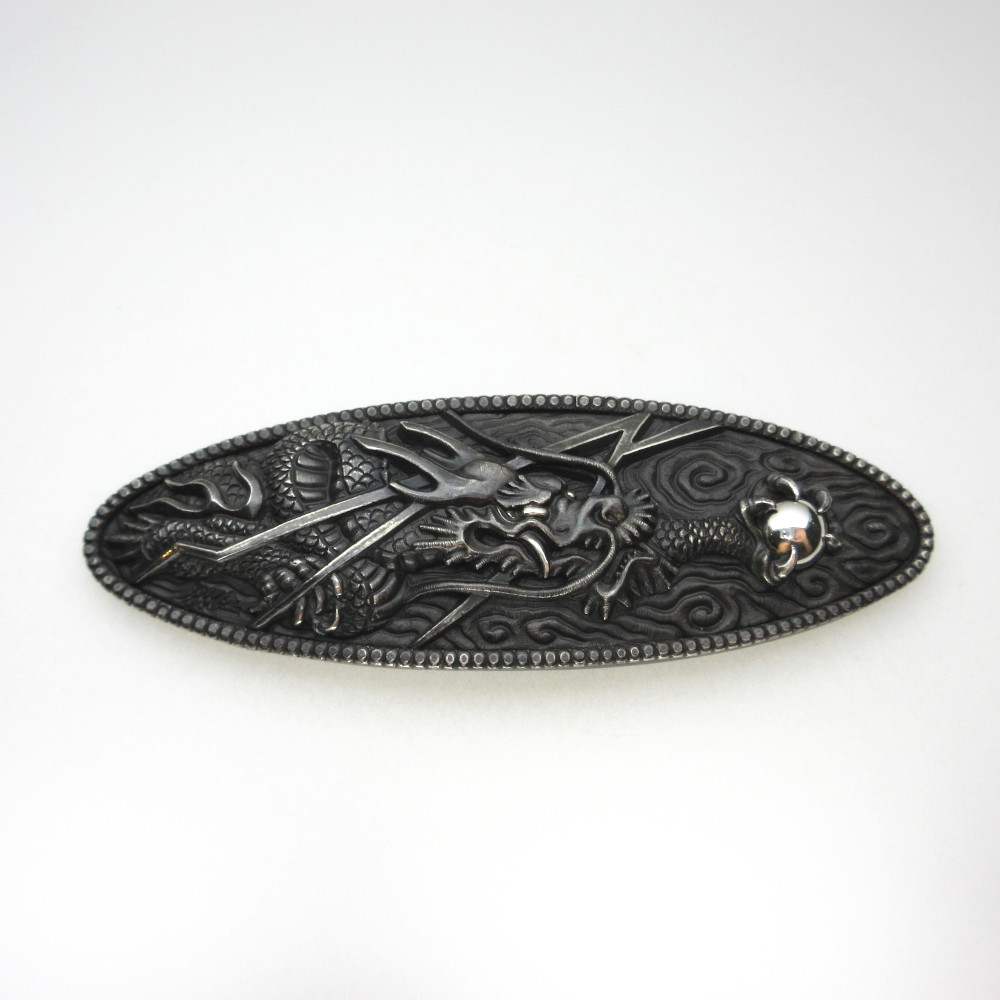 五本爪雲龍珠掴み図
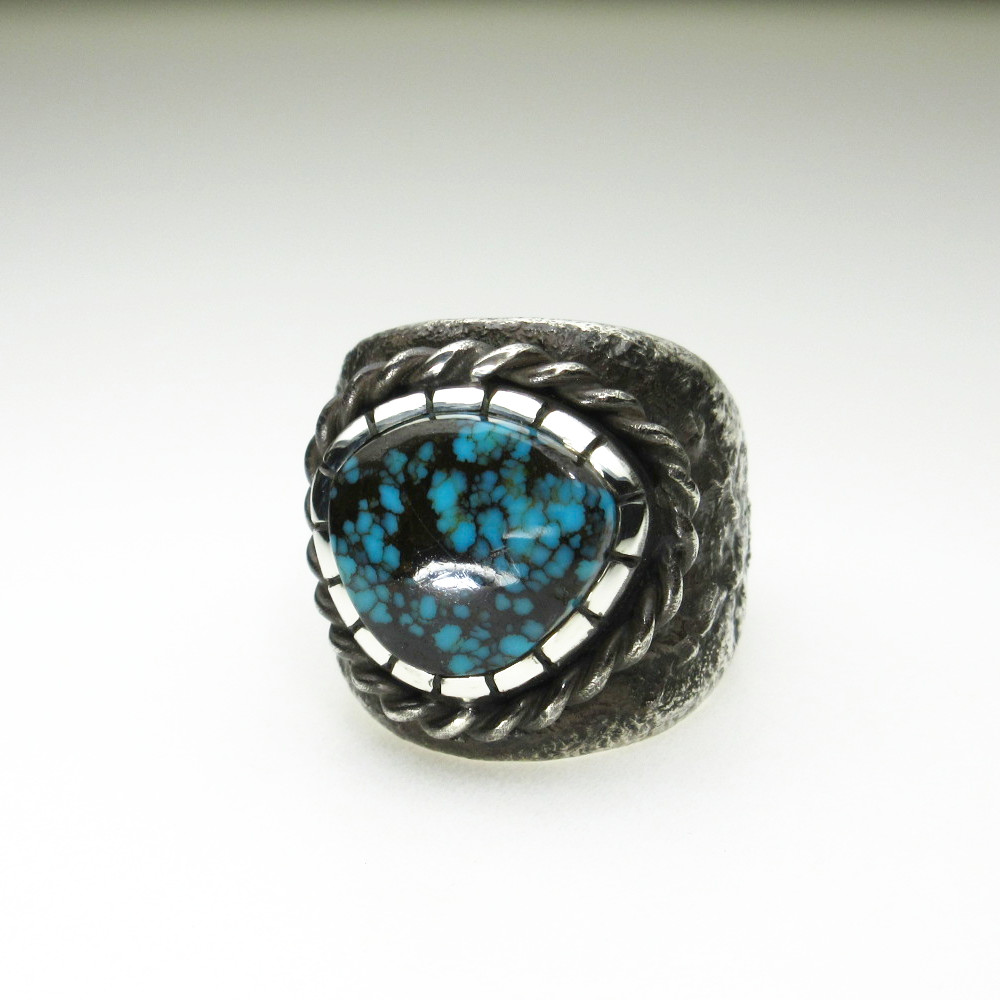 Bisbee Turquoise5.5ct Tufa cast finish Ring
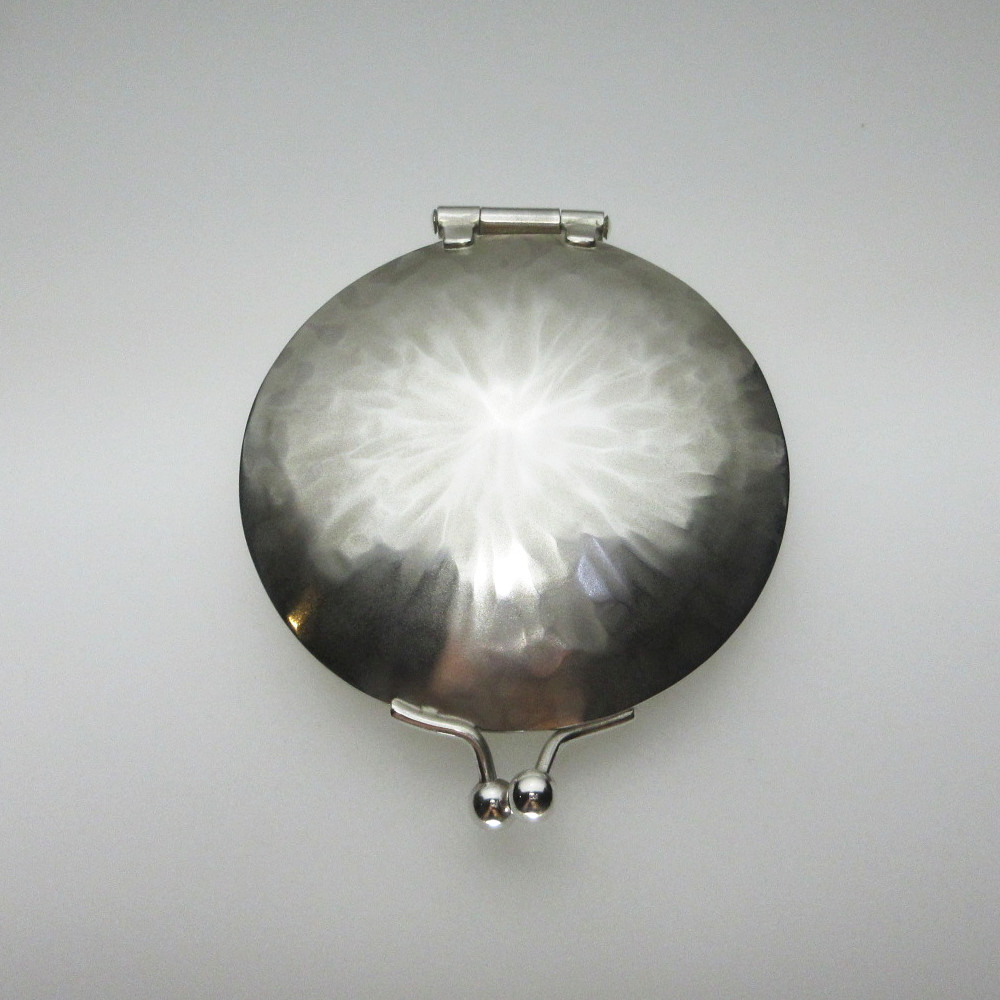 Silver Compact Mirror
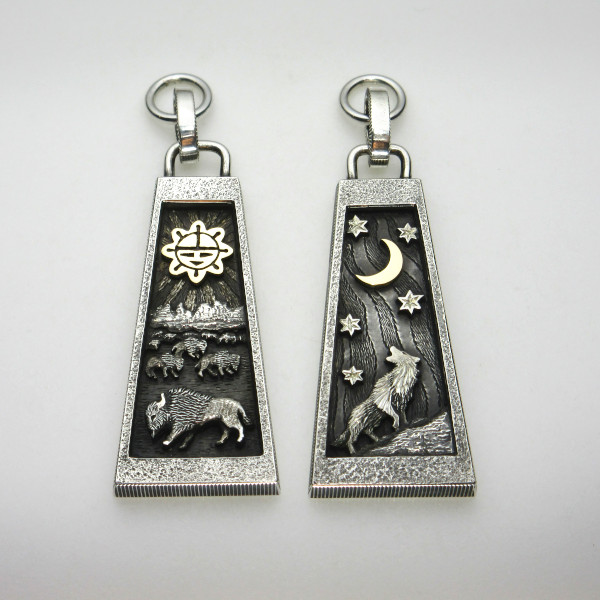 Wolf&Buffalo_Sun&Moon
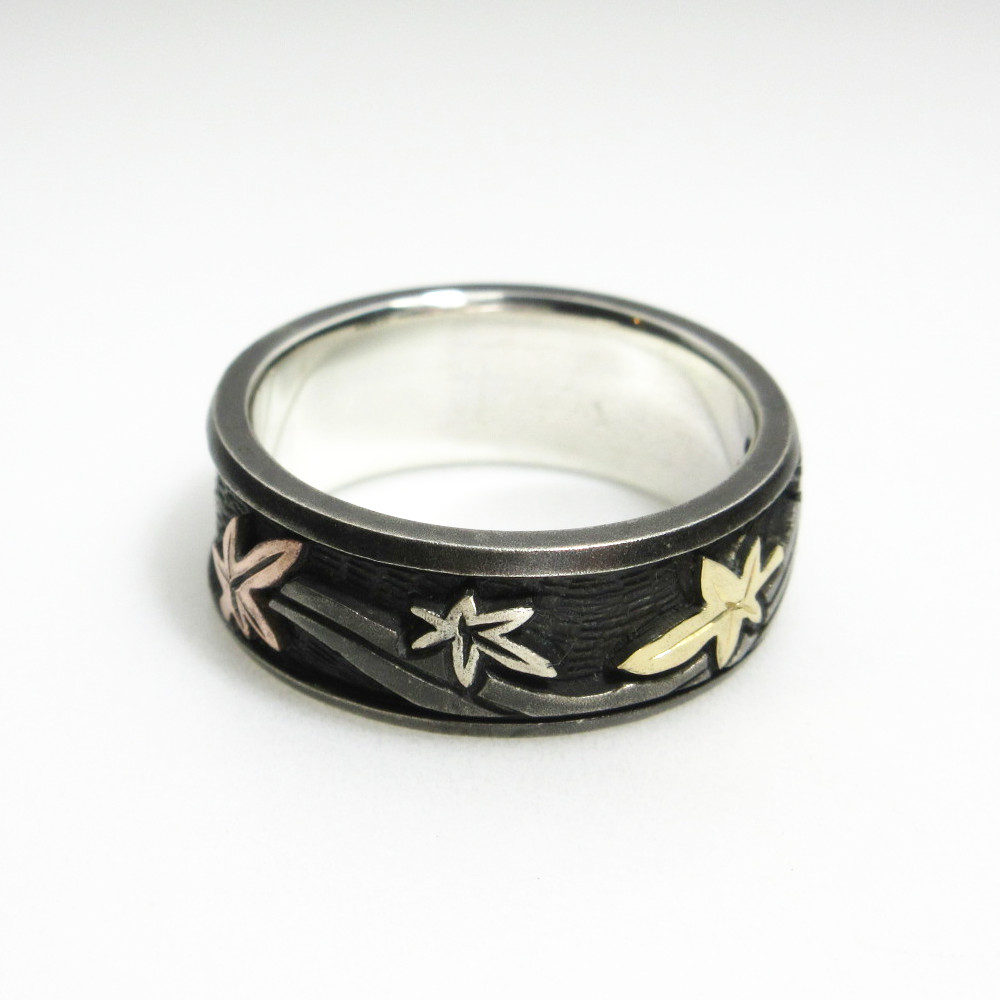 四季リング紅葉カスタムバージョン
 宝珠ペンダントの総打出し


